
Setting Up the Cisco CCW Connector
Prerequisites
Generally, your PSS Admin will be the best person with the right credentials to complete the following setup steps.
Your RAY ALLEN inc VP Sales Representative or Partner Experience Manager will be able to guide you through the following steps or you can Self Service using this process guide.
Creating a Cisco System SSO account (CCO ID)
- Go to id.cisco.com
- Log in using your Cisco CCO ID and password
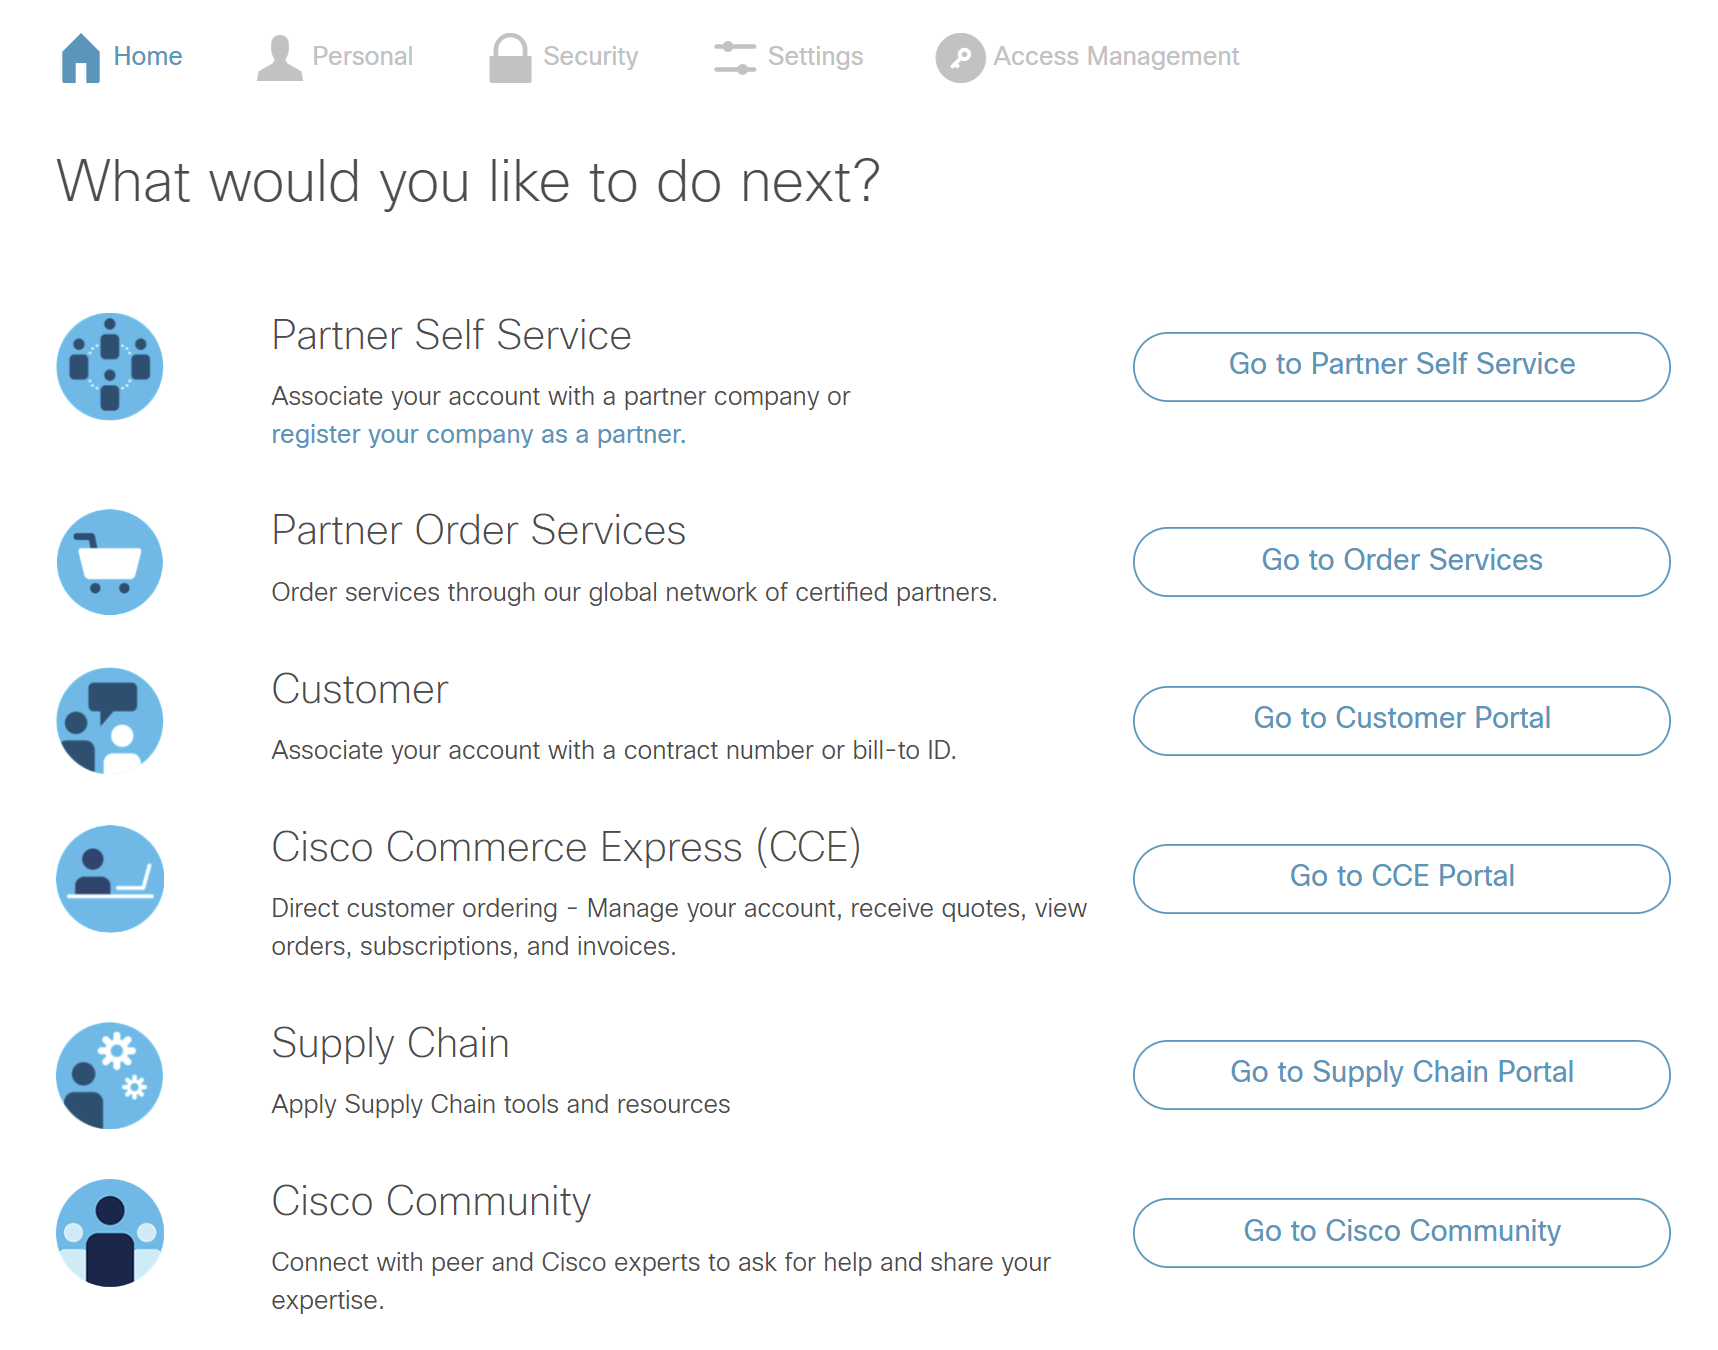
- Go to Partner Self Service
- Create a new Cisco System SSO account - it is important to note there are 2 different types of Cisco IDs (System IDs and Personal IDs). Please ensure this is a System ID type.
- Ensure it has the following:
- Proper Commerce entitlements including pricelist and BillTo IDs
- A system id tied to an email alias or team (not an individual user's id) e.g. Paratira@PartnersName.com
- If you don't have a company/team id, contact your company's PSS Admin for assistance
- Authorization to create or manage applications for your organization
- Select PROD as your target environment
Screenshot of id.cisco.com for reference:
Requesting API Credentials from Cisco
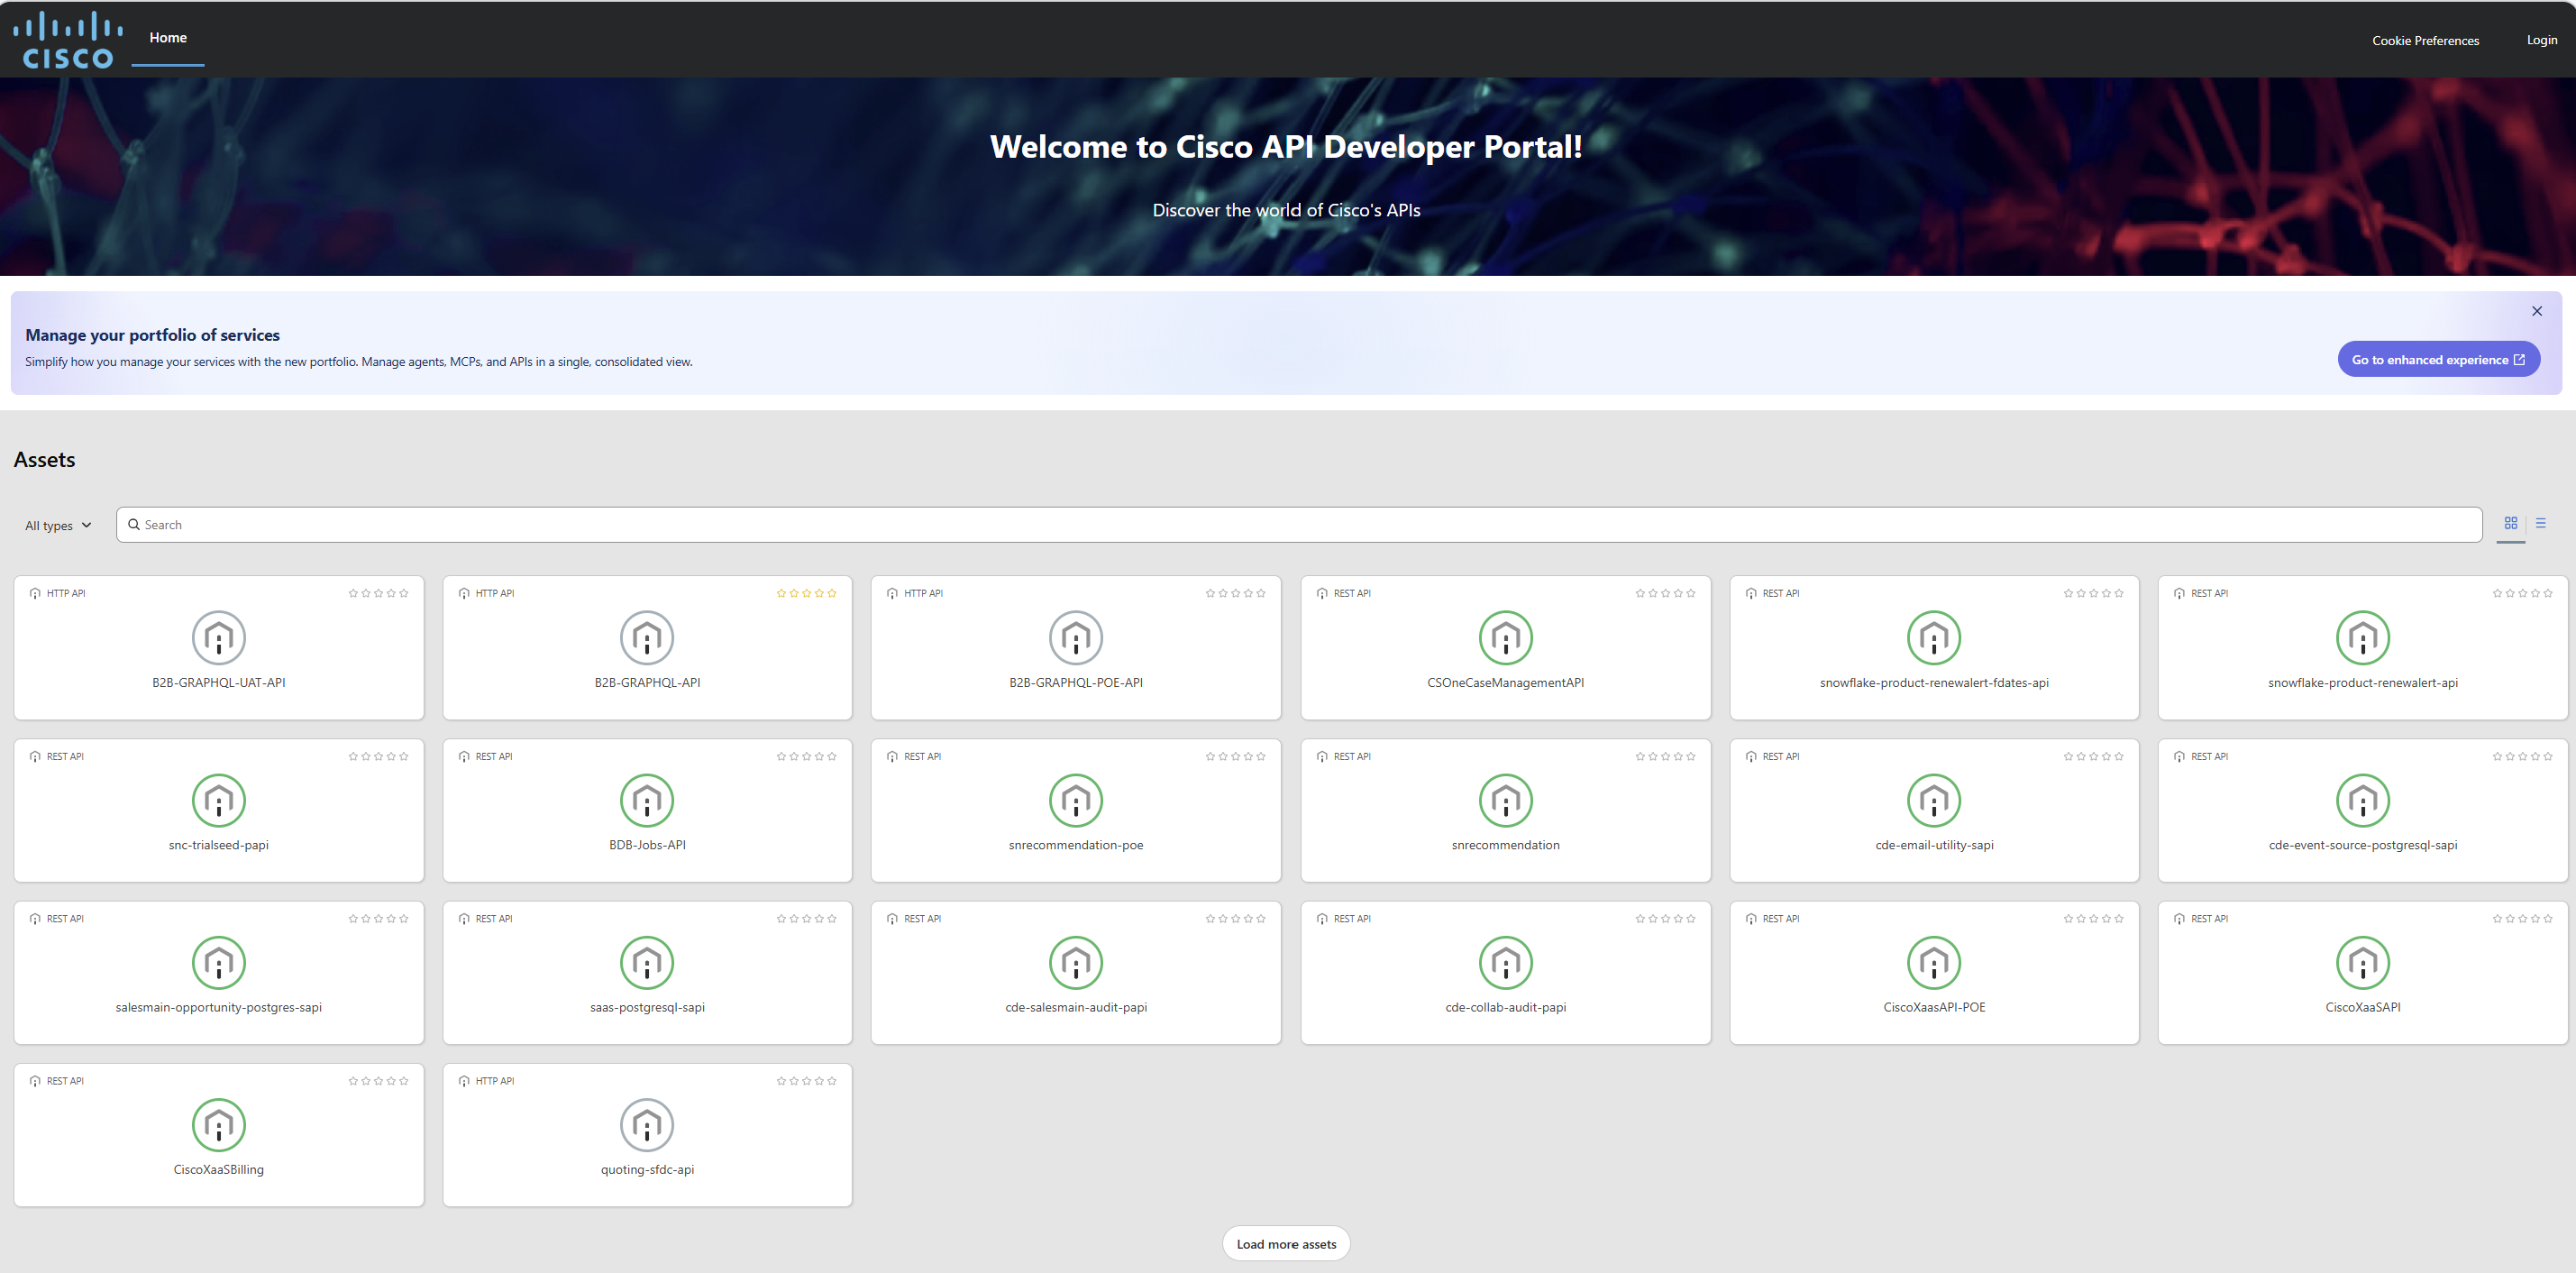
- Go to the Cisco API Developer Portal
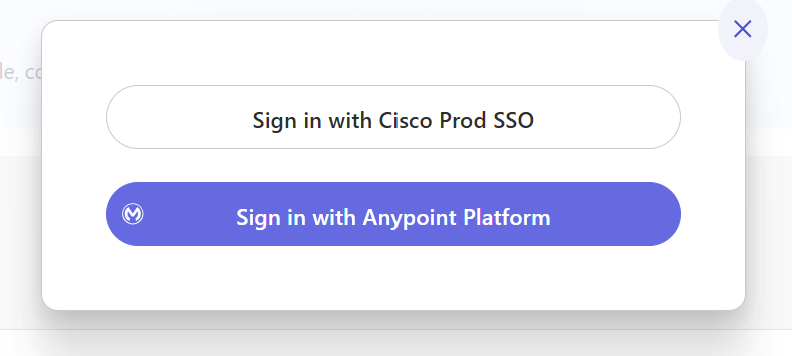
- Log in using your Cisco System CCO ID
- Sign in with Cisco Prod SSO
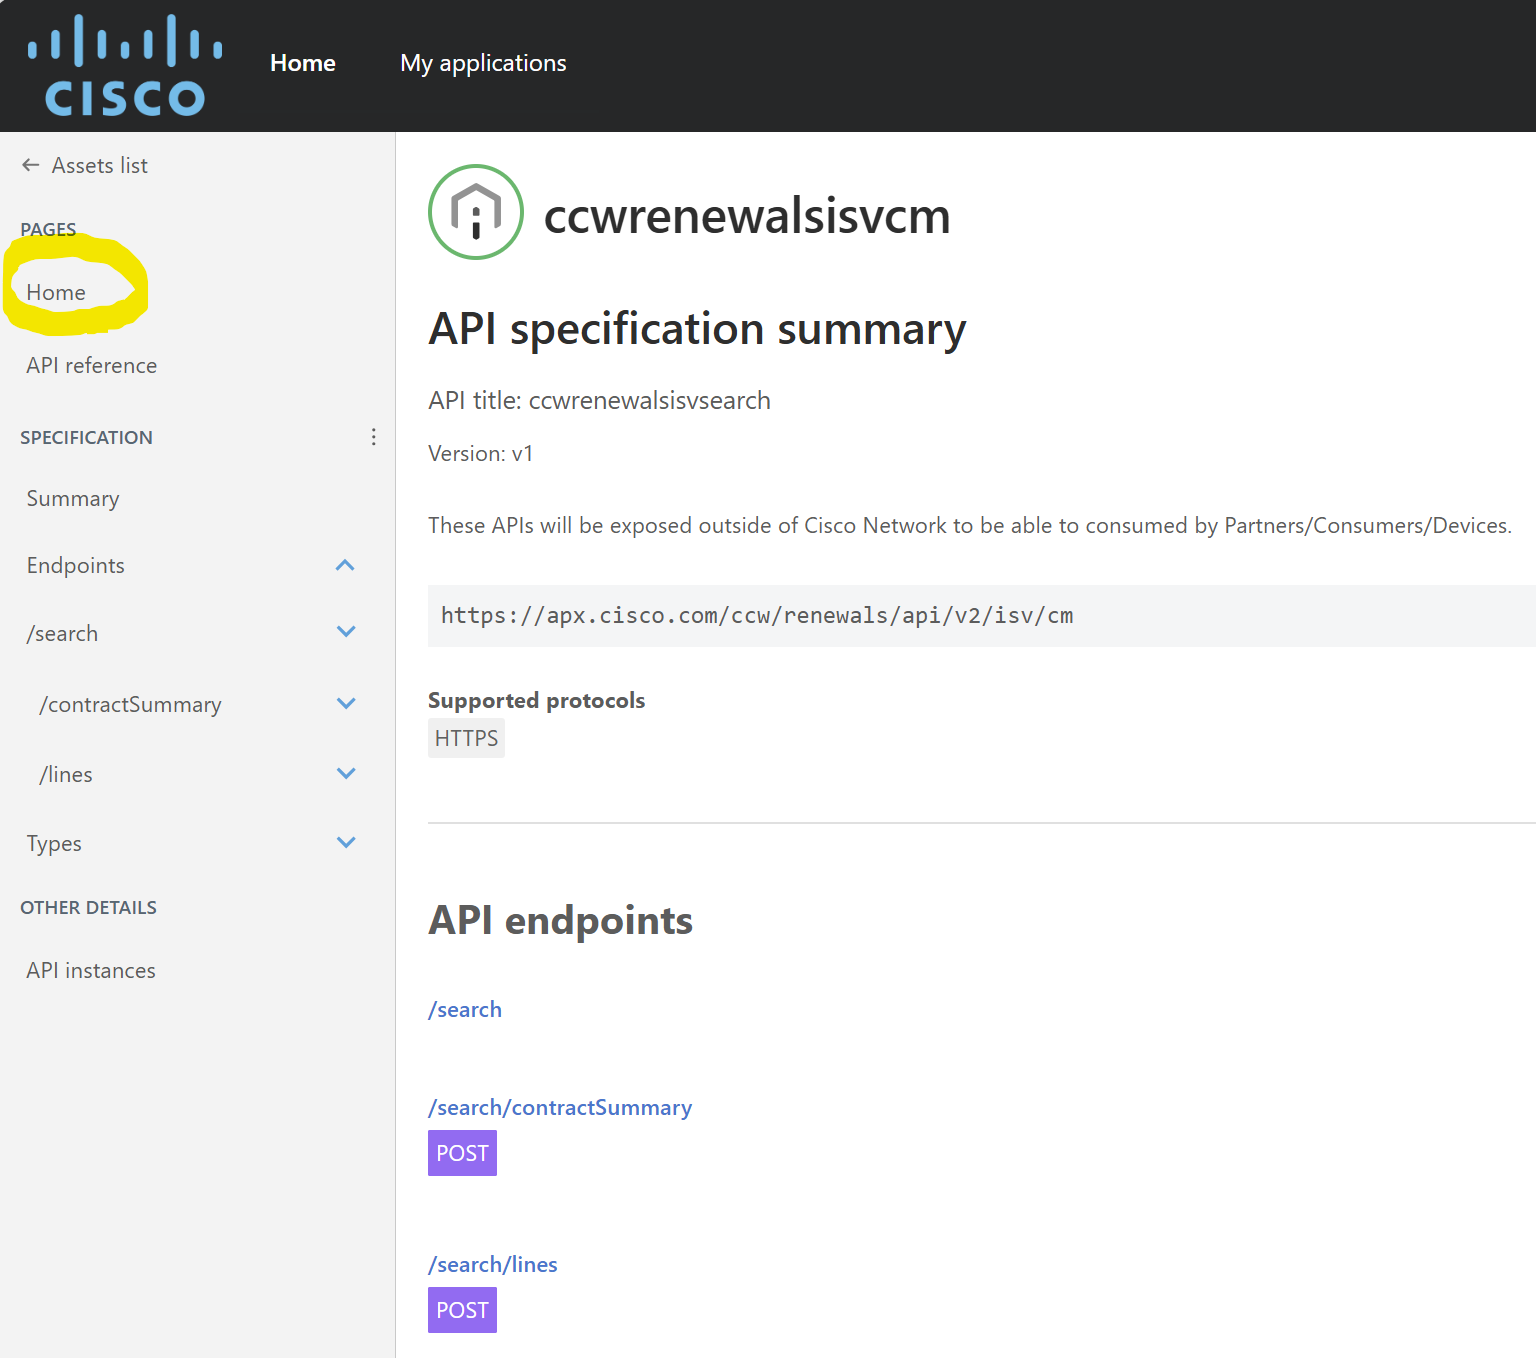
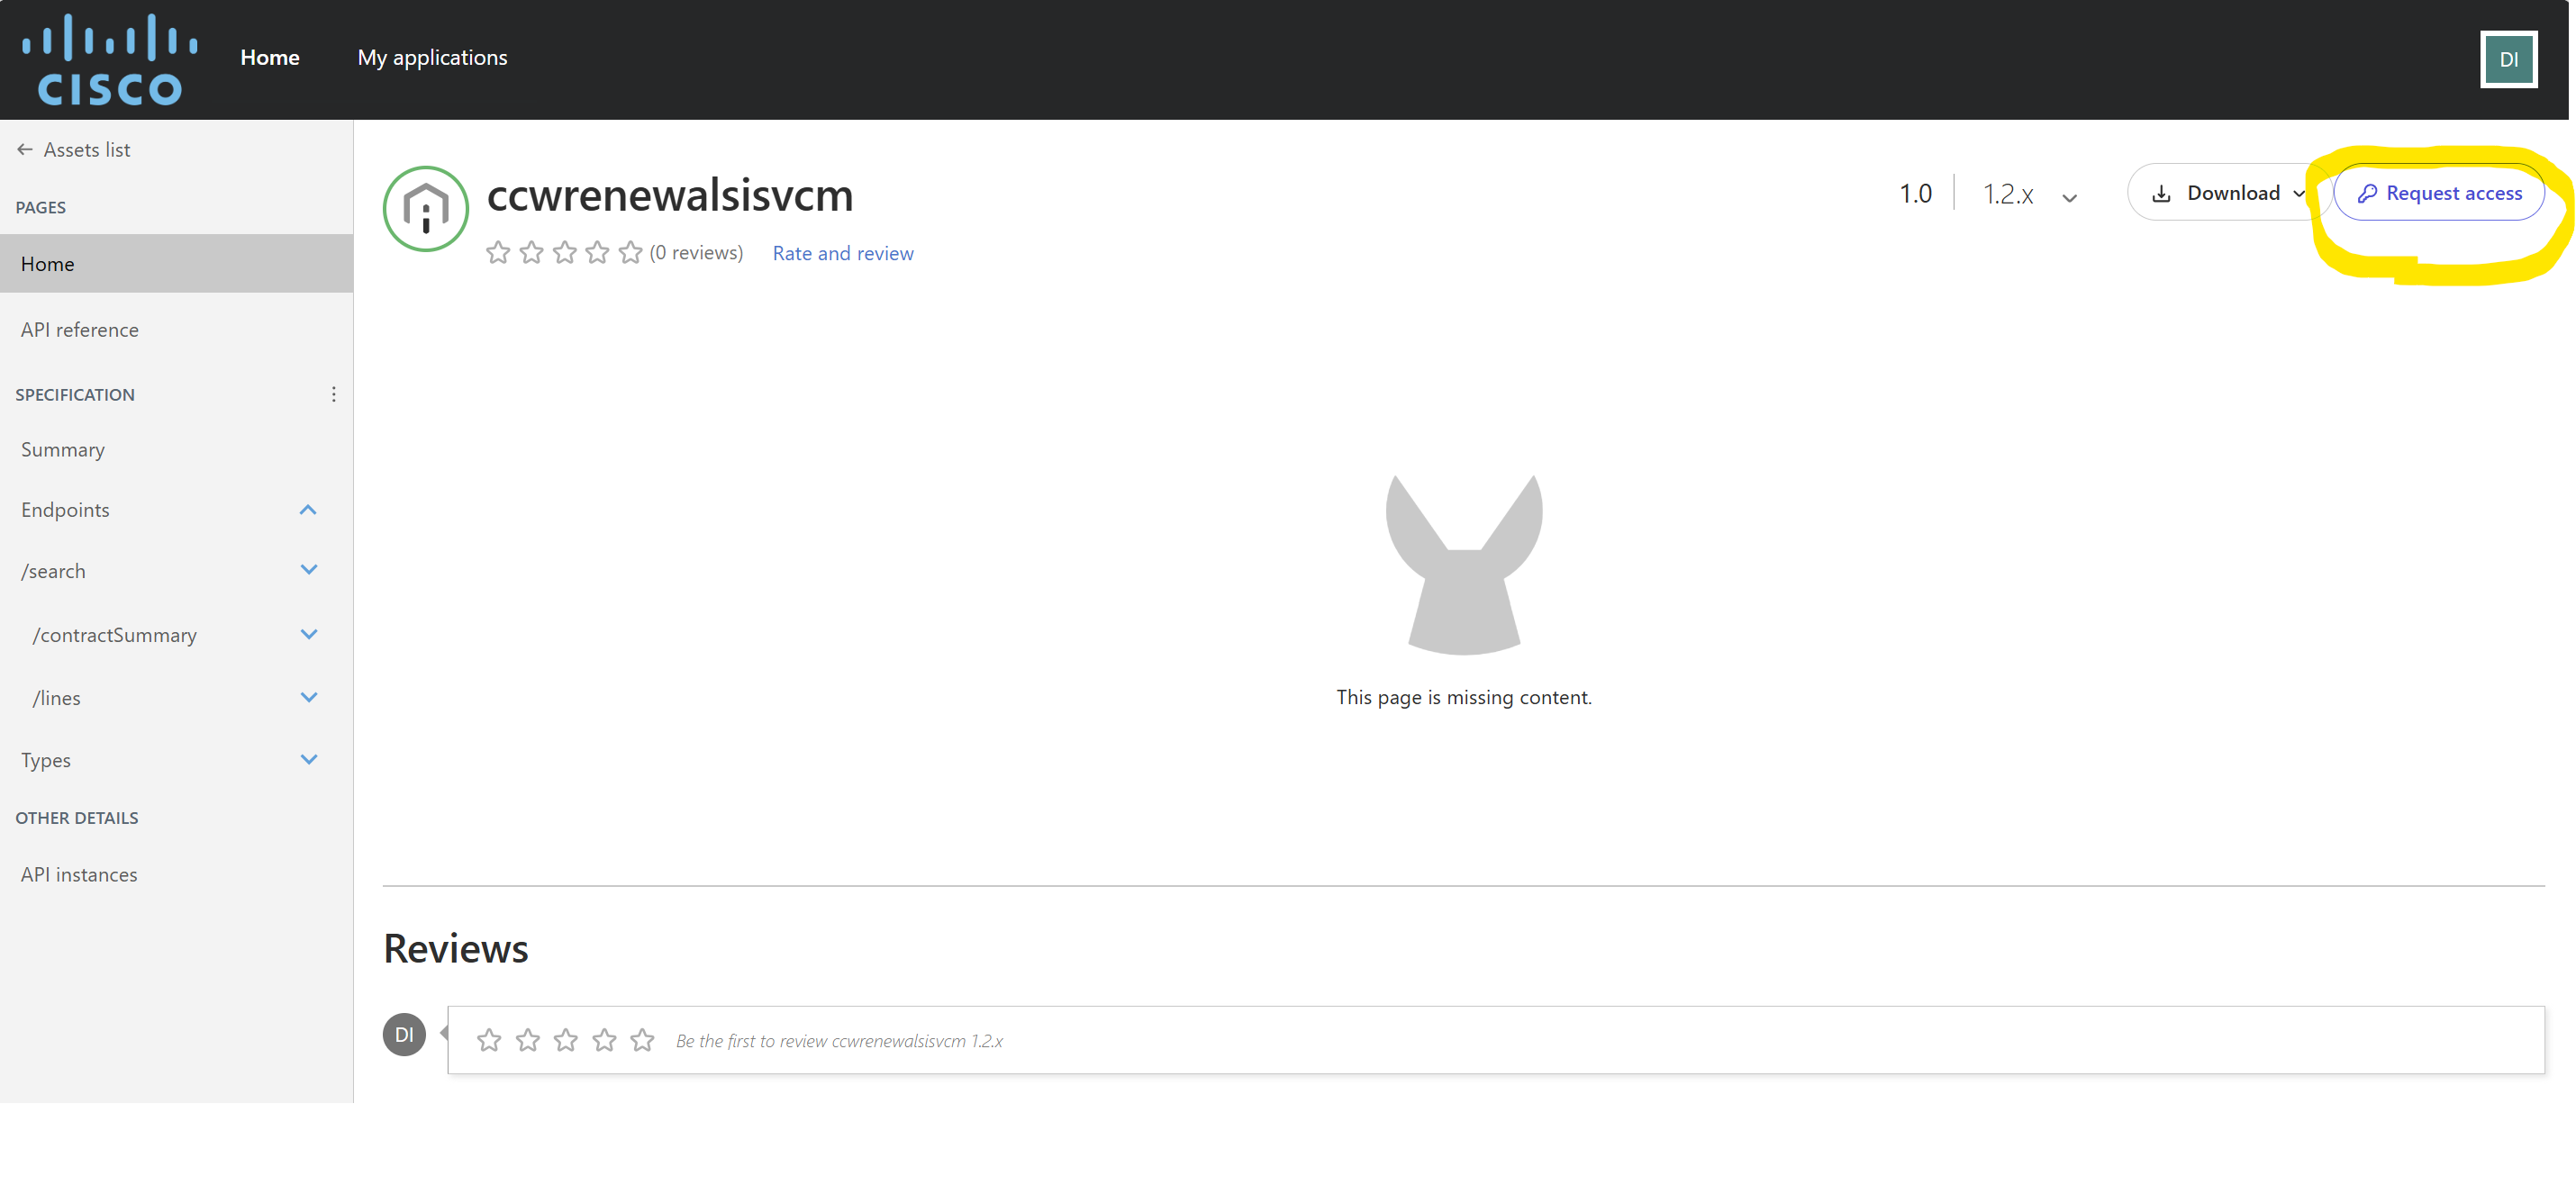
- Navigate to the following API: ccwrenewalsisvcm
- Click on the home button
- Select the Request Access button
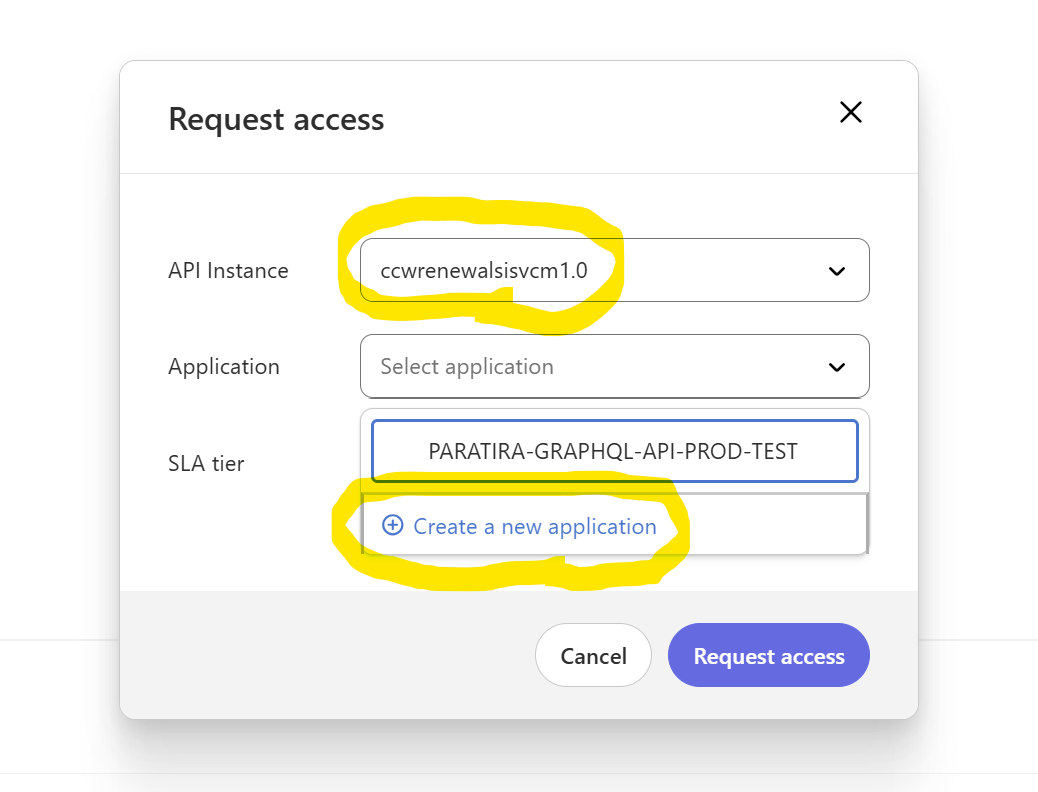
- Select the API Instance as PROD ccwrenewalsisvcm1.0 and select the Create a new application option
- In the "Create New Application" setup screen, enter the following
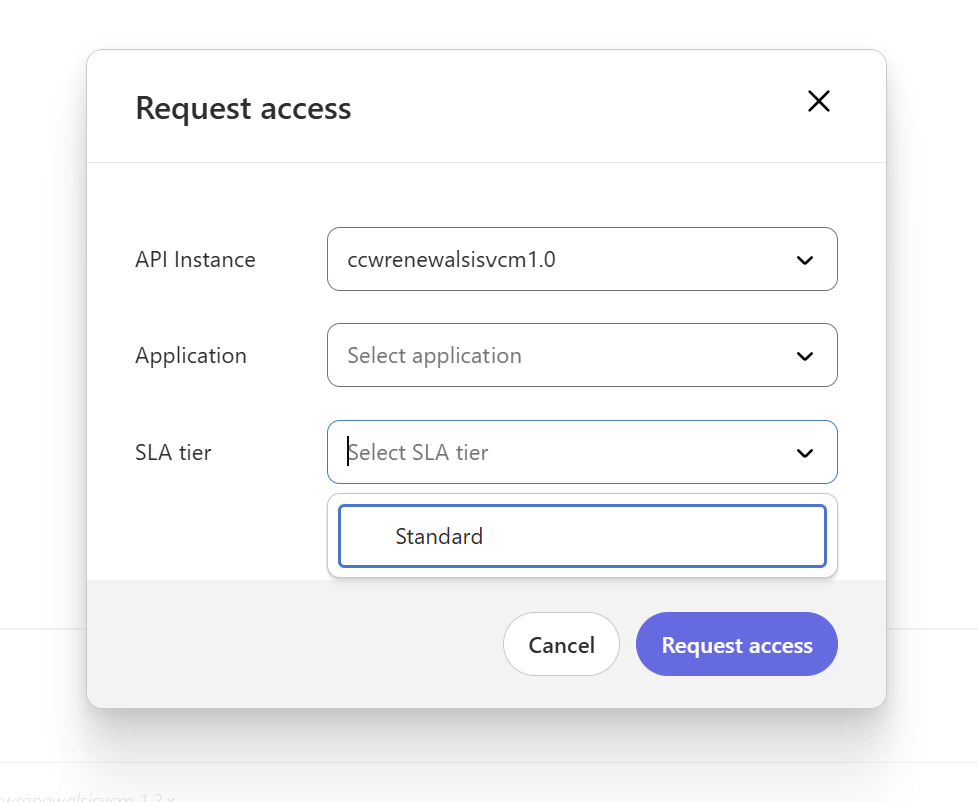
- Choose the Standard SLA tier and click request access
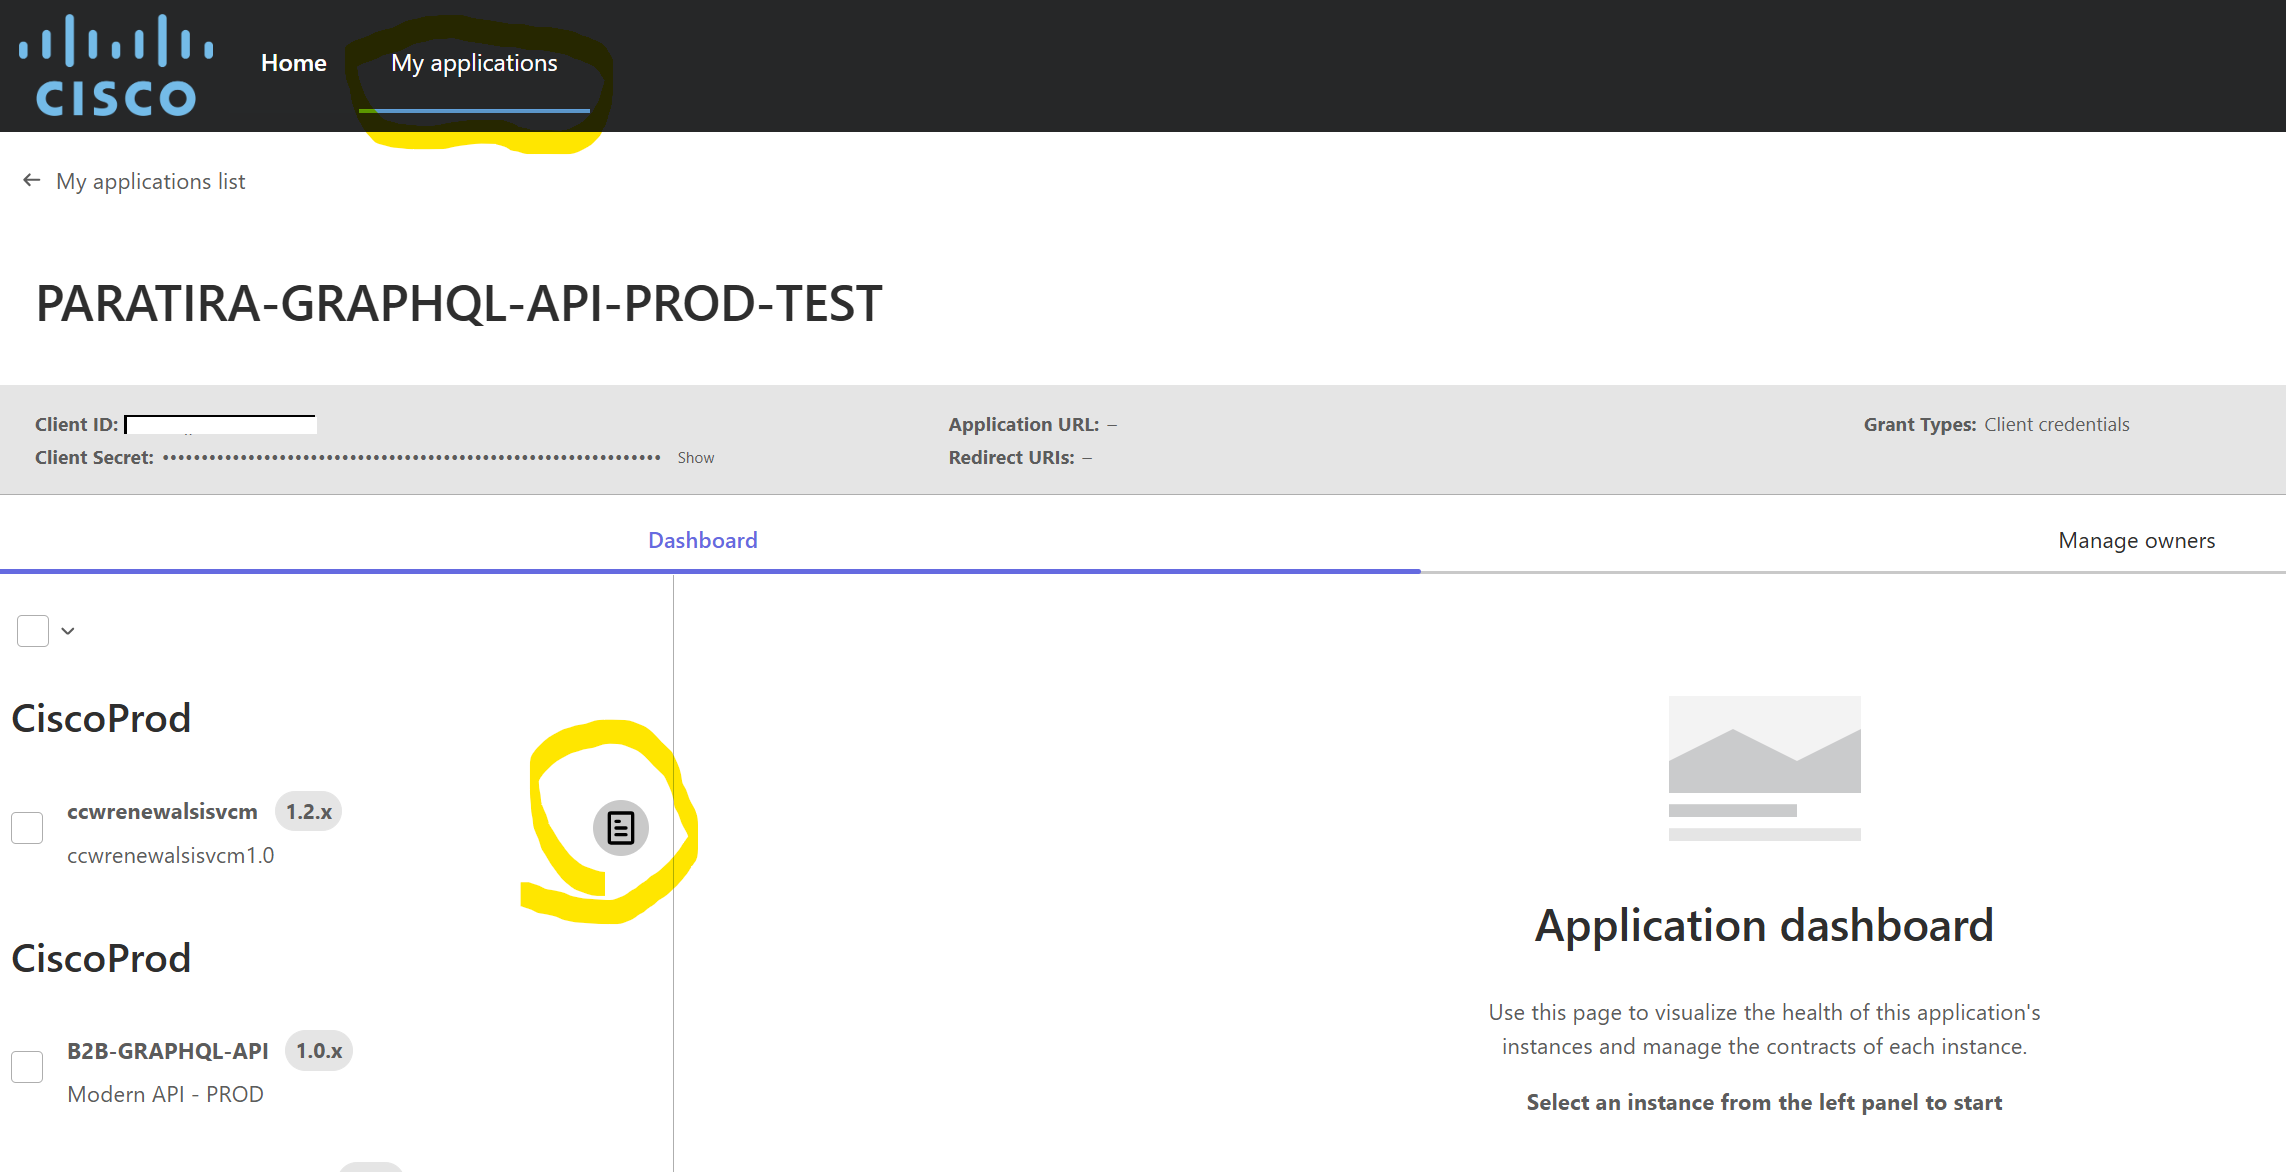
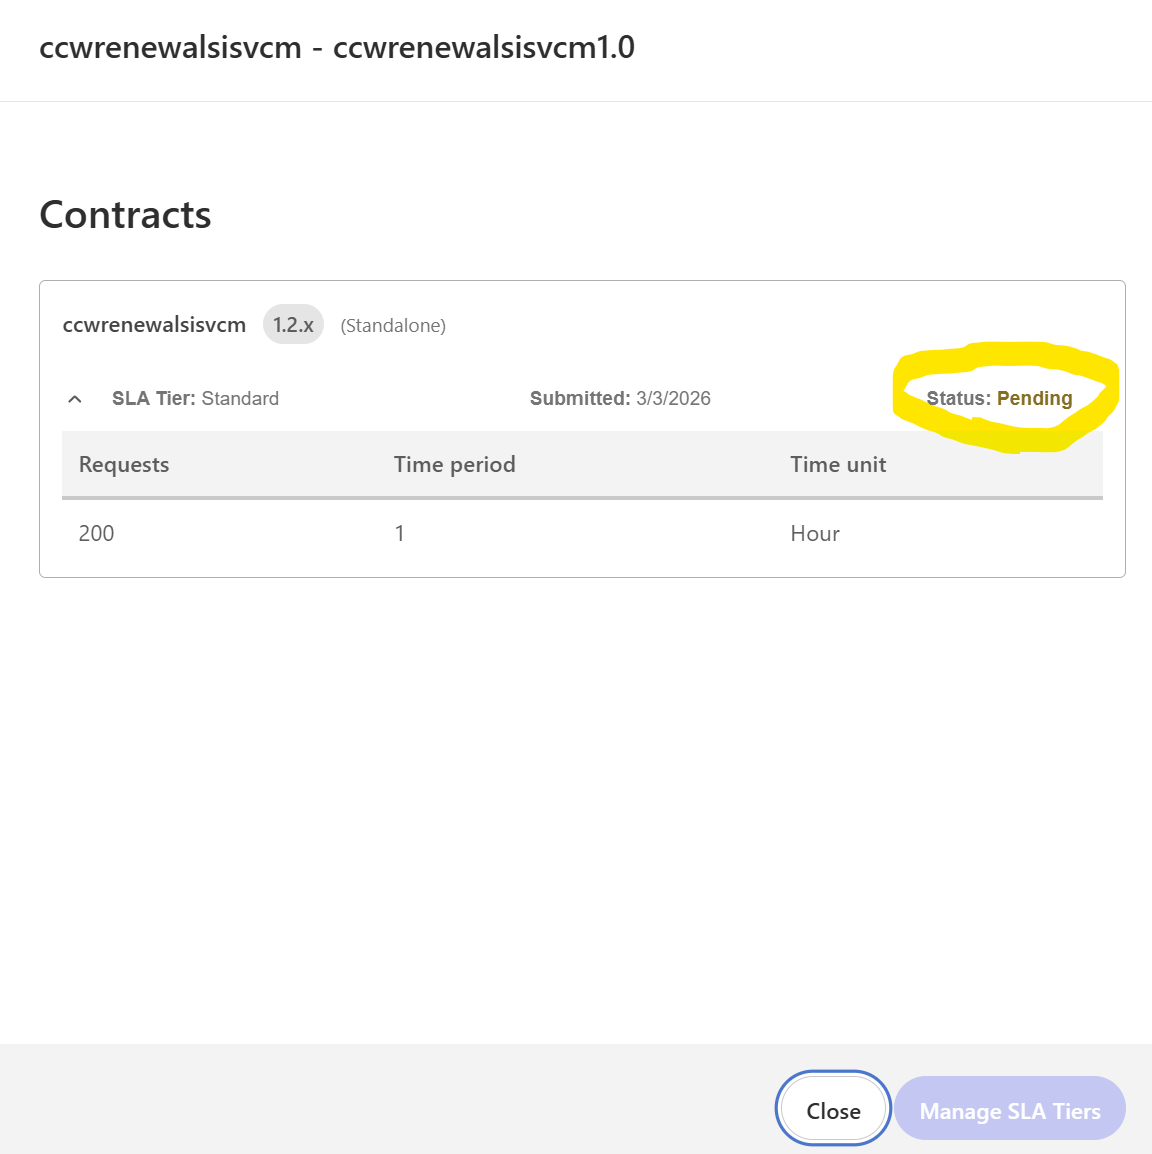
- To view the status of your API Access Request, Click on the My Applications Tab and select the Details Icon
- You can see the status here:
- Once it changes to "Approved", you can input these credentials into the Paratira Platform to begin pulling data.
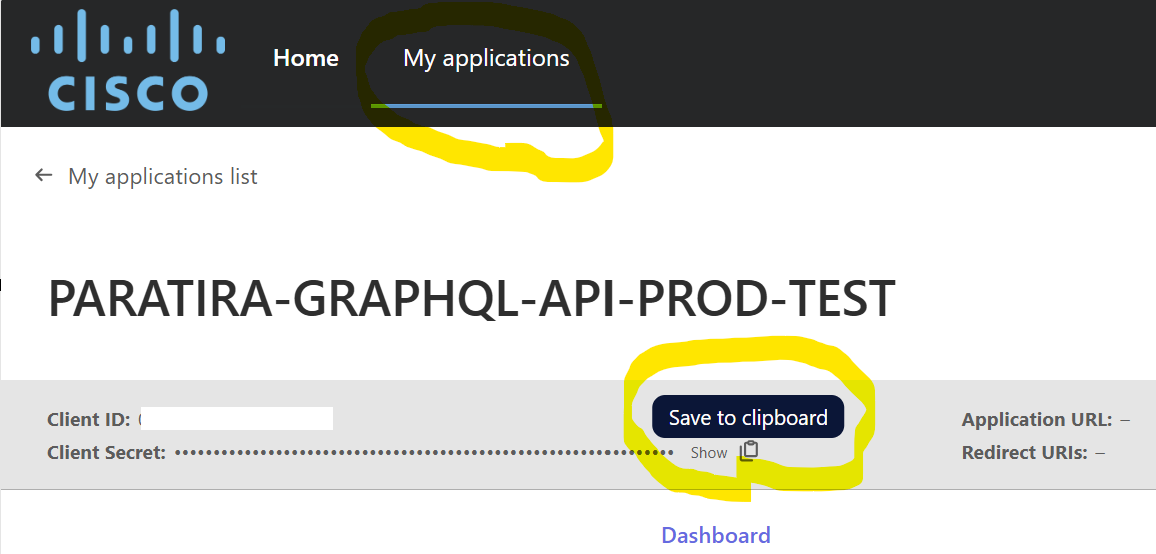
- The API Details can be found here:
- You can hover over the credentials to view the Copy button which makes it easier to put into the Paratira Platform
- Send an email to the Cisco team using this email address: cisco_commerce_renewals_api_request@cisco.com and CC sanjay.subramaniam@raioam.com using the following body message:

" Hi Cisco Team,
We are working with RAY ALLEN inc and their Paratira Platform to use our CCW data to generate new Sales Opportunities and uplift our Renewals Program. Could you please expediate granting of access.
Kind regards,
Name of Partner"
Please Note: Cisco have recently changed API Portals and will be decommissioning their old portal. This process relates to the new API Portal and therefore approvals may take longer than usual.
Cisco Reference Document: Api Portal Non-Prod Dev Next Gen
Setting Up the Connector in Paratira
Step 1: Access the Connector Setup
- Log in to your Paratira account
- Navigate to Settings in the left menu
- Expand the menu and select Connectors
- Click the Add Connector button
Step 2: Choose the Connector Type
- Click Add new connector
- Locate and click on the Cisco CCW tile
- Click Continue to proceed to the next step
Step 3: Enter Connection Details
- In the "Enter details" step, you'll need to provide:
- Client ID: Paste the Client ID you obtained from the Cisco API Console
- Client Secret: Paste the Client Secret you obtained from the Cisco API Console
- Bill To Location Ids: Enter your Cisco Bill-To IDs, supports multiple IDs
- When adding users to map their Cisco account to their customer account in Paratira, you will need to identify the customer's Global Ultimate ID. The "GUCID" is a unique Cisco-assigned identifier that represents the top-level parent company in a corporate hierarchy.
- To find the GUCID, browse to https://ccrc.cisco.com/ccwr/?
- Search for your customer name using he 'End Customer Name Wildcard'
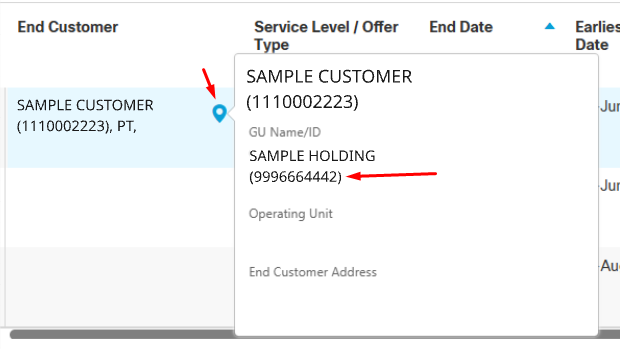
- Find your customer and then hover on the location icon to reveal the account details
- Copy the ID shown under 'GU Name/ID'
- Alternatively, for more information please see https://www.cisco.com/c/dam/en/us/td/docs/entitlement_asset_mgmt/docs/My_Cisco_Entitlements_FAQ_March.pdf
- Click the Test connection button to verify your credentials
- Once the connection test is successful, click Continue
Step 4: Validation
- Paratira will validate your connection and permissions
- The system will check that it can access all required CCW APIs
- If any issues are detected, you'll see specific error messages with guidance
- Once validation is successful, click Continue
Step 5: Customer Mapping (for Multi-tenant Connectors)
If you're setting up a multi-tenant connector:
- At the "Map customers" step, you'll see organizations from your CCW account
- For each CCW customer, you can:
- Map to an existing Paratira customer using the dropdown menu
- Create a new customer by selecting "Create as a new customer"
- Click Confirm for each mapping
- Once all mappings are completed, click Continue
Step 6: Complete Setup
- Review the connector summary information
- Click Finish to complete the setup
- Your new CCW connector will appear in the connectors list
- Initial data collection will begin automatically
Should you have any issues, feel free to reach out to: sanjay.subramaniam@raioam.com