
Setting Up the Microsoft Azure Advisor Connector
Note: Currently only a Customer (1 to 1) Connector can be established in the platform.
Prerequisites
- A Microsoft account with Owner or Contributor permissions to your Azure subscription
- A Microsoft account with Application Administrator permissions or Higher (such as Global Administrator) for your tenant
1. Log in to the Azure Portal
Visit https://portal.azure.com
Use an account that can create App Registrations.
The Azure AD roles Global Administrator and Application Administrator have this capability by default.
2. Register the Application
- Open "Microsoft Entra ID".
- Select "App registrations".
- Select "New registration".
3. Record the Client ID
Name:
Paratira - Connector - Azure Advisor
Supported account types:
Accounts in this organizational directory only (Single tenant)
Redirect URI (Web):
https://paratira.ai
Select "Register".
Record the following for later configuration:
Application (Client) ID
4. Create a Client Secret
- Go to "Certificates & secrets".
- Select "New client secret".
- Choose an expiration period.
Important policy note:
Select the longest duration allowed by your organisation’s policy. The secret must be renewed before expiration to avoid service interruption.
- Select "Add".
- Immediately copy and securely store the Client Secret value.
5. Add Required API Permissions
Microsoft Graph - Application permissions:
- Directory.Read.All
Microsoft Graph - Delegated permissions:
- User.Read
Select "Grant admin consent" and save after adding the permissions.
6. Assign App Reg to Subscription
Grant the app reg - service principal read access to subscriptions using one of the following methods:
Management Groups (Best Practice - allows all future subscriptions to be automatically added)
- Go to Azure Portal and select Management Groups
- Select the root management group (typically called Tenant Root Group)
- Go to Access Control (IAM) and click Add role assignment
- Assign the Reader role to the app registration
- Make sure all subscriptions are under this management group, and configure auto-placement for future subscriptions
Individual subscriptions (requires manually adding permissions and new subscriptions are not automatically added)
- Go to Azure Portal > Subscriptions
- Choose the target subscription
- Go to Access control (IAM) > Add role assignment
- Select Reader
- Assign it to your App Registration's Managed Identity or Service Principal (client ID/object ID)
- Repeat for each subscription
7. Identify the Tenant ID
- Go to: https://portal.azure.com/#view/Microsoft_AAD_IAM/ActiveDirectoryMenuBlade/~/Overview
- Copy the Tenant ID to be inputted into the Paratira Platform later.
8. Log into the Paratira Platform
- Go to: https://app.paratira.ai
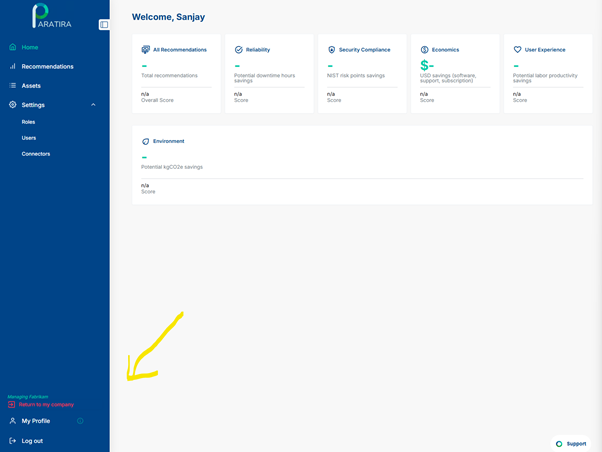
- Ensure Customer Impersonation
The screenshot below shows where you can check that you are correctly "Managing" or "Impersonating" the customer profile you wish to setup the connector for:
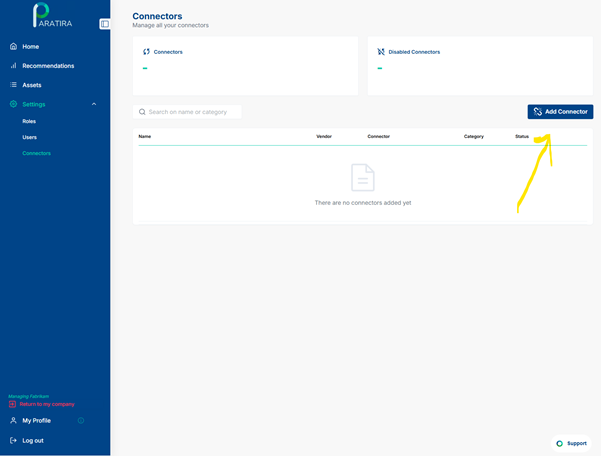
Navigate to Settings in the left menu
Expand the menu and select Connectors
Click the Add Connector button
The screenshot below shows the location of the Add Connector button:
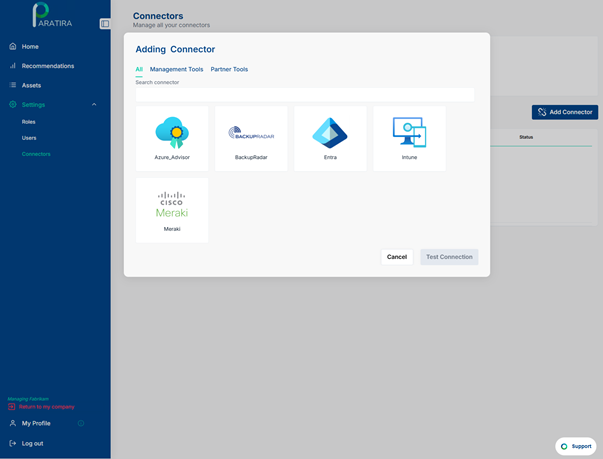
Choose the Azure_Advisor Connector
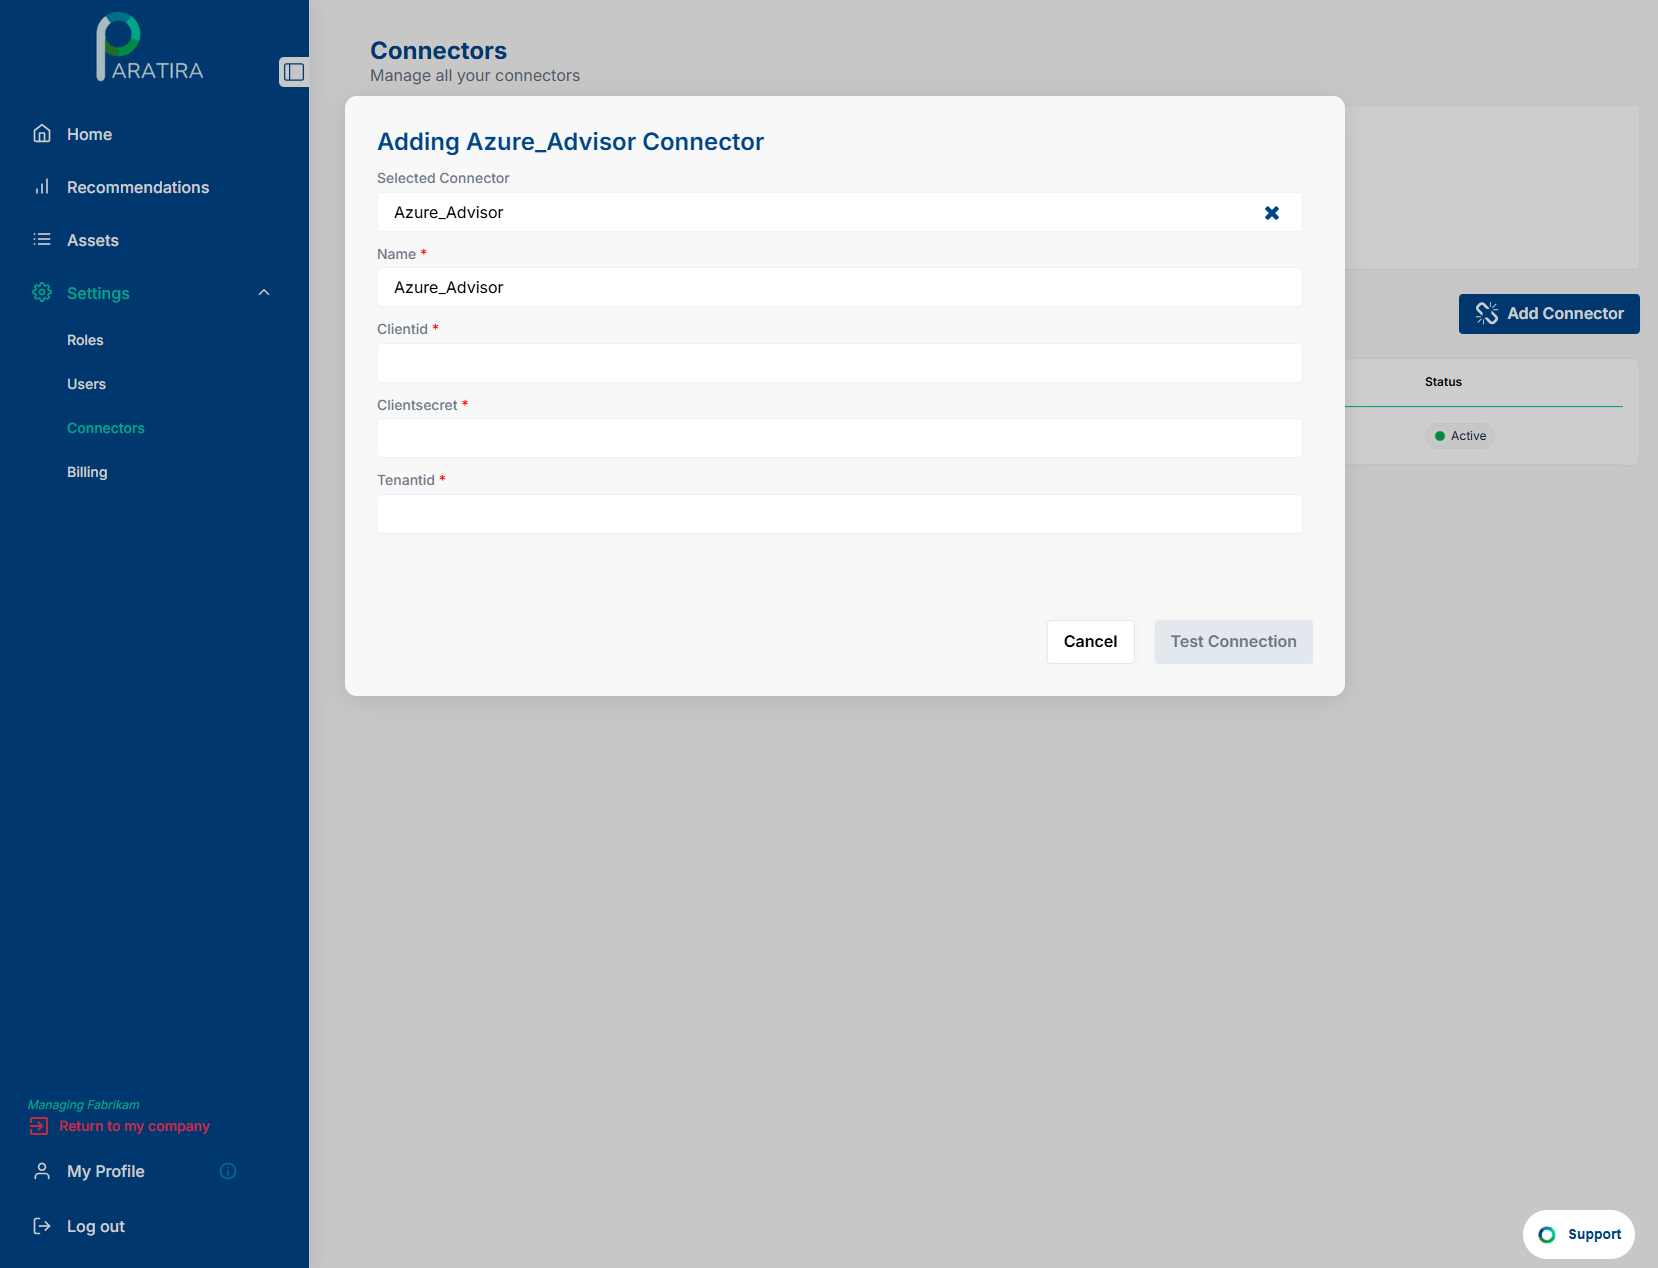
Enter the details in Paratira
Enter the following details to complete the onboarding process in Paratira:
- Name: Enter a name for the connector e.g. Azure Advisor Connector
- Client ID: Enter the details you created in Step 3
- Client Secret: Enter the details you created in Step 4
- Tenant ID: Enter the details you identified in Step 7
- Click Add New Mapping
- Enter the Tenant ID that you copied earlier and the select the customer that you want to associate the connector with
- Click Add
- Once all details have been entered a new icon will appear called "Test Connection"
- Paratira will load the Validation Results and process the API endpoints associated and validate the data permissions have been configured correctly. This process can take few minutes to complete
- Once the permissions are completed click Next to proceed